
How to personalize your Google+ web address
Categories: Google+
One of the newer social media tools, and the subject of one of the new chapters in Get Up to Speed with Online Marketing, is Google+. I know. “Not another social media tool” was my initial reaction too; especially after so many false starts and abandoned forays into social networking by Google. But it pays to at least be aware of Google+ and the possibilities it can offer. And there have been a few recent interesting improvements that might encourage you to look again at Google:
- The design has improved. Instead of a massive header image that takes up most of the screen, the look has been slimmed down, the header looks more stylish, and the posting area looks – well, Facebooky. In fact, you might consider using your Facebook header image, to reinforce your personal (or business) branding.
- Automatic hashtags. Google+ now automatically adds keyword hashtags to any blog posts or articles you post to your profile, which saves you a job and helps other people find your content. You can edit these, or remove the automated option altogether if you want.
- Personalized URLs. This was only a matter of time, and something long offered by other networks. A personalized or ‘vanity’ URL is useful not only for the search engine benefit, but so you have something a little snappier to put on email signatures or business cards than a long string of numbers. Here’s how to claim your personalized Google+ URL.
1. Do you qualify?

First of all, to qualify, you first need to meet some basic eligibility criteria:
- Personal profiles – at least 10 followers, an account that is more than 30 days old, and a profile photo
- Business pages – must be linked to a website or, for Local Google+ pages, be a verified local business.
Once you qualify, you should see a blue Get URL button at the top of your screen, in the middle of your header; or click Get URL under the Google+ URL listed at the top of your Links box on the About tab on your profile.
2. Decide what you want to change your Google+ URL to
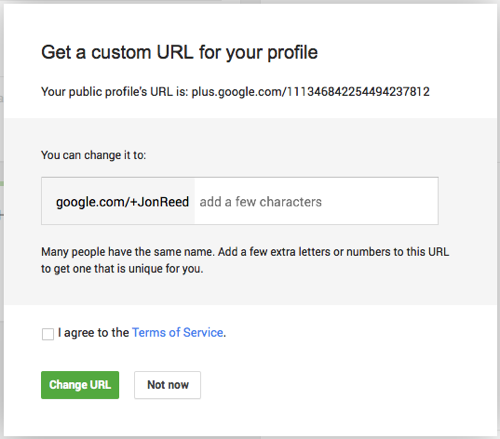
The first bit of your personalized URL – the bit after google.com/+ – will be your name (or the name of your page). If you’re lucky, this will be available. Otherwise you will need to add some more characters t make it unique.
3. Agree to the Terms of Service
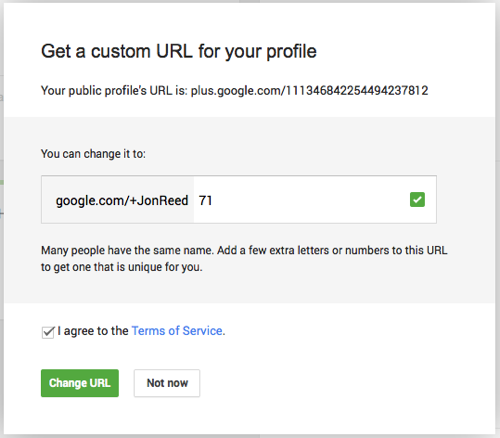
Once you have a URL that is available (indicated by the green tick), tick to agree to the Terms of Service and click the Change URL button.
4. Verify your mobile number
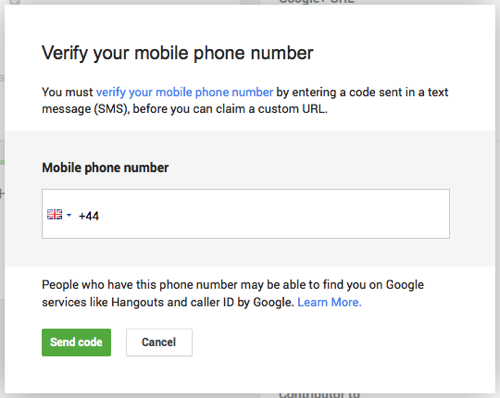
Google has an extra security feature built in to make sure it is really you who is changing your URL. Choose your country fronm the drop-down menu, enter your mobile phone number, and click Send code.
5. Enter the verification code
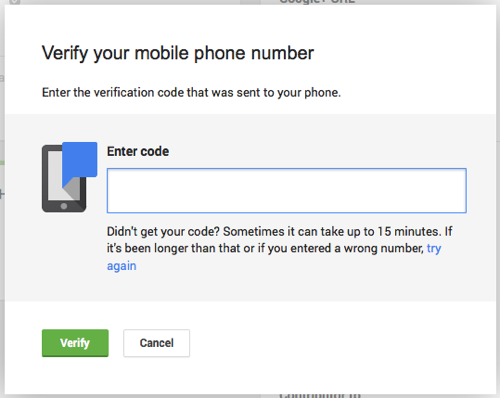
A code will be texted to you – enter this then click Verify.
6. Confirm your choice
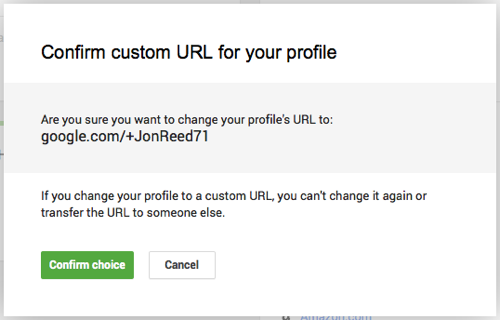
You will see a preview of your new Google+ URL. Are you absolutely sure you want to change it to this? You can’t change it later! If you’re sure, click Confirm choice.
7. Success!
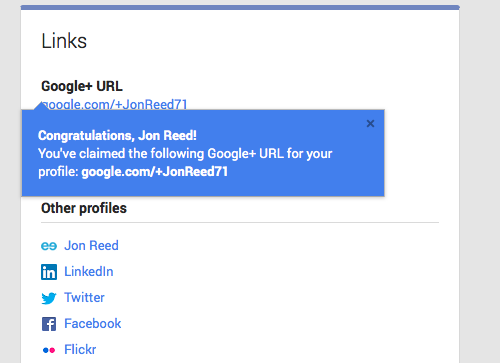
On the About tab of your profile you should see your new Google+ URL at the top of your Links box.
Google+ is another place for people to find you. It’s worth having a profile, even if you don’t plan to use it much, for the search engine benefit. If someone Google’s your name, one of the first things to come up will be your Google+ profile – especially if your name is part of the URL for your profile. And if you’ve filled in some links to other places people can find you online, they can connect with you there, even if you don’t use Google+. But, now that the interface has improved, you may be tempted to use it more.
Find out more about how to market yourself with Google+ in chapter 14 of the 2nd edition of Get Up to Speed with Online Marketing.